
Professional photographers work really hard to click that perfect shot. But still, raw studio images are not enough to make a remarkable impact on the audience. Even the best-captured photo has to be manipulated and beautified to make it appealing. No wonder image post-processing has become indispensable for photographers.
While clicking images is one thing, retouching the photos to bring the desired effect in them is a different ball game altogether. First of all, you have to be proficient with high-end technologies and the latest photo editing software like Photoshop to bring about the desired effect in your photos. Secondly, as a photographer, you are always hard-pressed for time to learn the latest photo retouching techniques. Even if you are proficient with the photo editing tools, doing this labor-intensive work eats into your productive time.
So, if you are also facing these challenges, then the best solution is to outsource photo retouching services. But, if you are not among them and like to retouch your images on your own, here are some tips and tricks that you can use to get the best out of your clicked images.
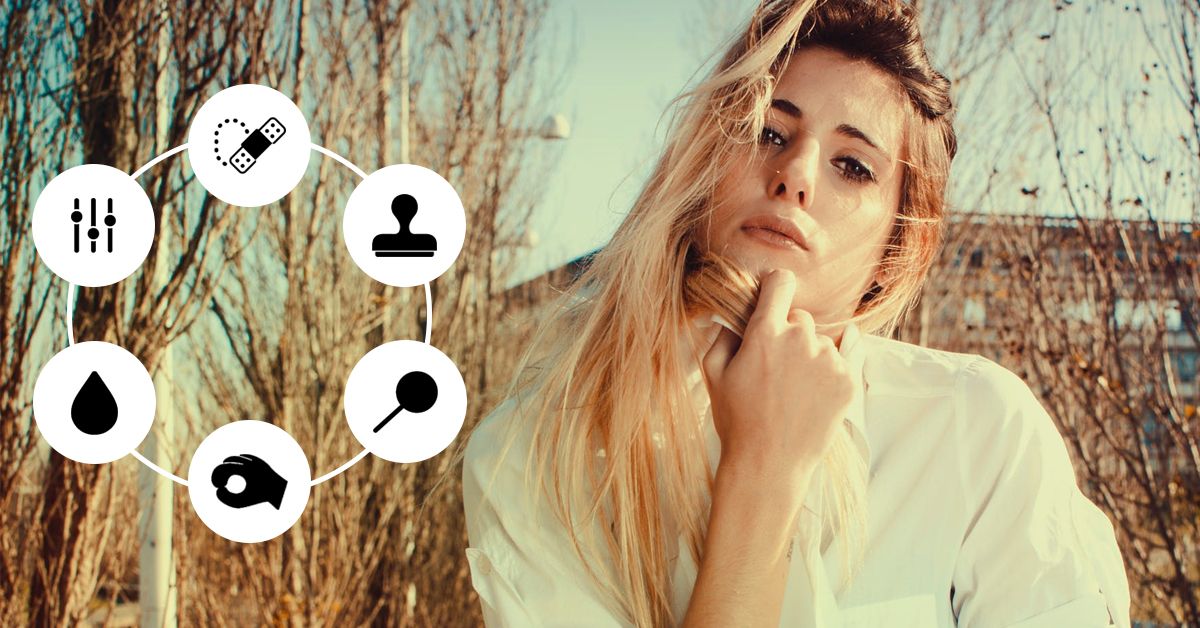
Some Primary Photo Retouching Tips And Tricks
1. Start With Making The Image Flat
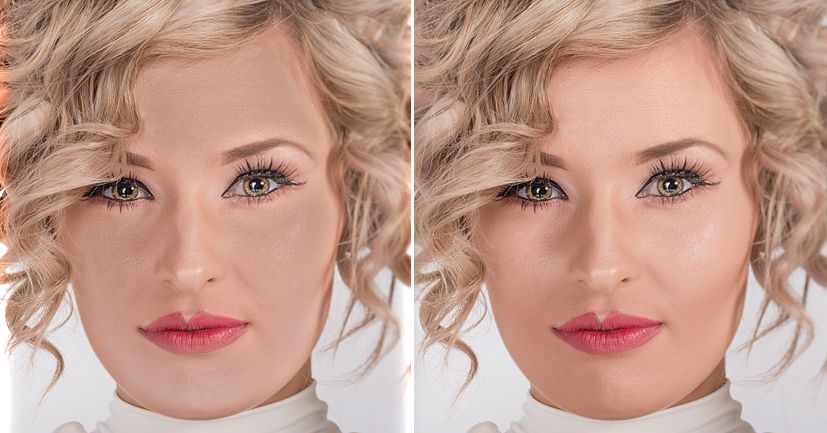
The first thing which you should be careful about while processing images is to build a base prior to applying any retouching technique. You should flatten your raw images by adjusting the color temperature and exposure. Make your highlights a little dull and shadows a little flat. Also, check the tonal range, it should match the mid-tones of the image. Doing this will make your image dull and flat, ensuring that when you employ the different retouching techniques in Photoshop or any other software, the image will have the right amount of contrast. If you start retouching an image having natural contrast, the techniques will overdo the contrast and instead of adding value, you will end up ruining the image.
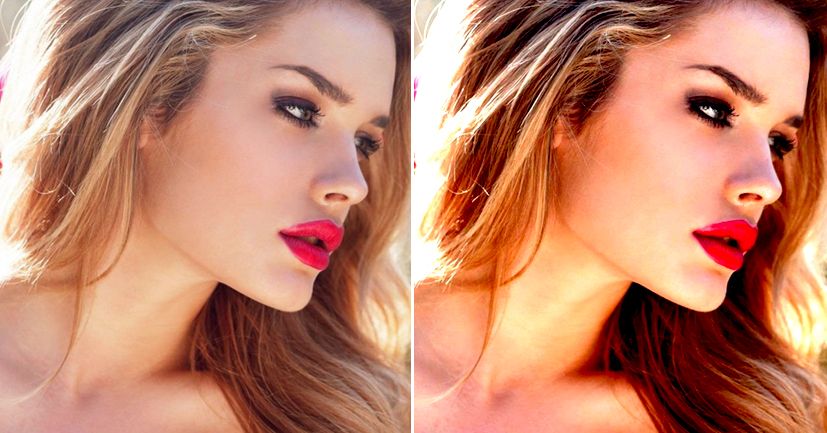
2. Use Healing Brush To Eliminate Spots And Scars
Attention to detail is critically important when you are retouching images. To ensure that you don’t miss out on any detail try using the healing brush rather than the spot healing brush in Photoshop. It allows you to pick your own source points to get rid of even the smallest inconsistencies on the skin, or any distractions in the background. Not only portraits, but you can also use this to remove distractions from landscape shots.
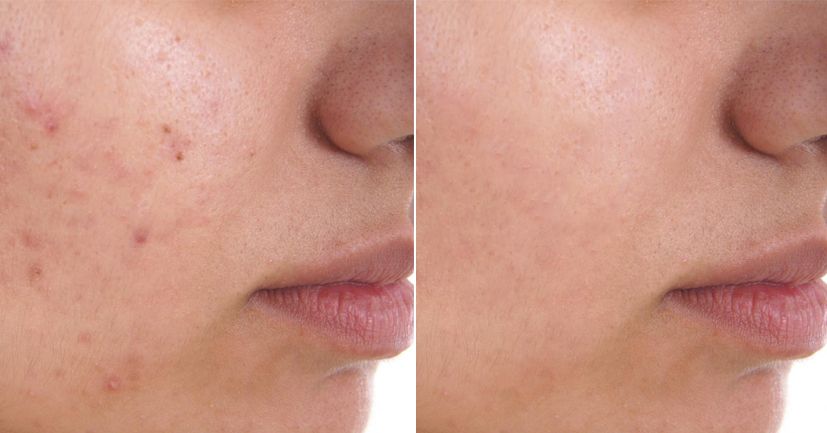
3. Employ The Clone Stamp Tool To Duplicate Sample Pixels

It is one of the best tools to use if you want clear skin without losing the original skin texture in the image. Also, it helps if you want to avoid altering pixels and have quicker results. However, you must use it sparingly and with extra precision on areas that don’t have much detail or natural light. It can be applied to both – backgrounds and skin. It is used to seamlessly blend transitions in the sky or on patterns that don’t have enough details. You can use the clone stamp tool setting to access the different blending modes. However, don’t mix this technique with frequency separation as it will overdo the effect and you may end up having an artificial-looking image.
4. Master The Dodge And Burn Tool
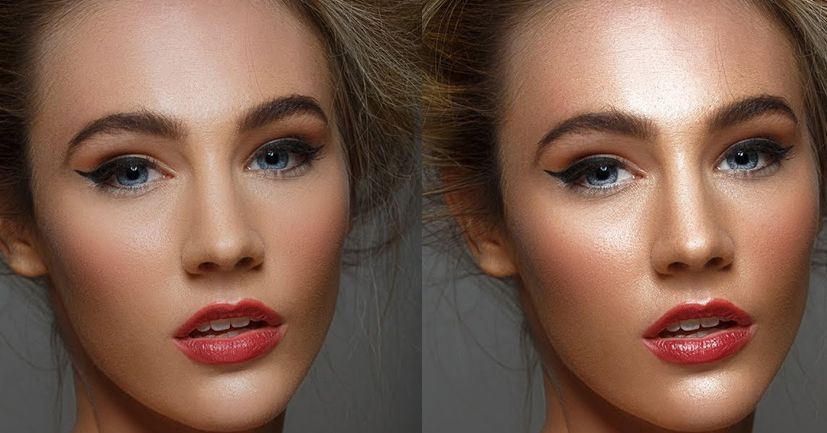
Dodging and burning helps you shape the light as per the image requirement. Among the many ways to dodge and burn, the curve adjustment layer is considered the most effective one. It sculpts the light and shadows on the subject while creating a better sense of three-dimensionality in a two-dimensional image. You can easily regulate exposure on specific areas by using the layer mask and brushes to create the desired effect. Besides, the dodge and burn tools in Photoshop are equally effective in retouching portraits if you are dealing with larger files that need more time involvement. You can leverage these tools to adjust the shadows, mid-tones, or highlights.
Pro Tip: Use dodge and burn to make the subject pop. To achieve the vibrancy, you can even out skin tones or darken/lighten one side of the image. Having a transition from dark to light in some parts of the images will create a sense of color depth.
5. Do Not Miss Out On Frequency Separation
Do not ever miss out on frequency separation as it proves to be the best for smoothing out wrinkles from the skin. It allows you to separate the high-frequency pixels from the low ones in images so that you can make the required changes to each of them individually. For instance, you can retouch texture and detail independently from color and tone. This is something to use sparingly and in moderation. You can also use it to even out clothes, skies, backdrops, or any other thing that needs smoothing.
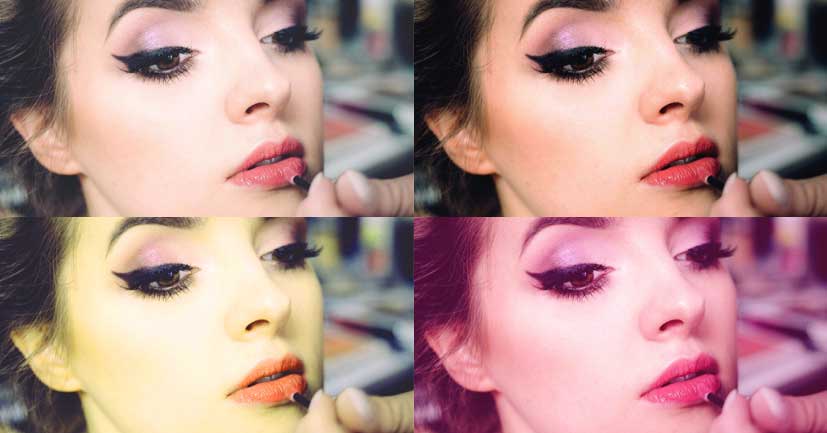
6. Change The Black & White Layer To Soft Light
It is one of the most effective post-processing tricks used by photo retouching experts. You can do this by applying a B&W layer to the image first and then changing the blending mode to soft light. You will get an image with too much contrast. Now, you have to drag the opacity to around 20-60%. This will give your image a sharp commercial look. Besides you can also control the luminance of each color in the image with the sliders on the black and white layer. By adjusting the reds and yellows, you can get a variety of skin tones.
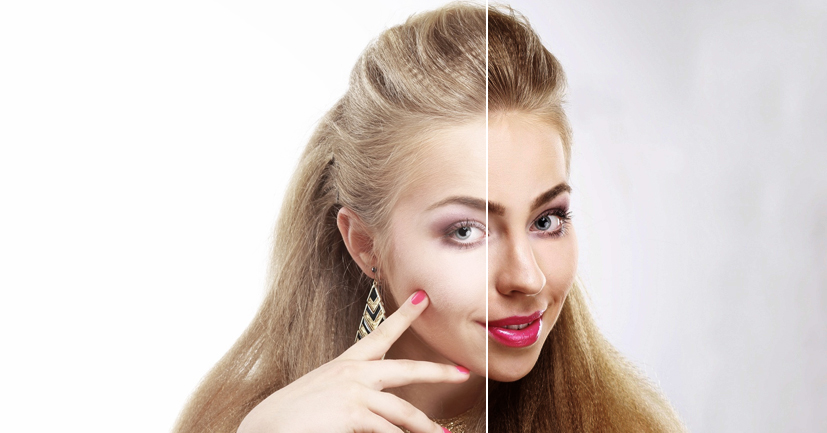
7. Toning With Color Balance, Levels, And Hue/Sat Adjustment Layers
These three adjustment layers do wonders when it comes to toning portrait images. You can leverage the Color Balance adjustment layer to add:
- Blue, cyan, or magenta to the shadows,
- Red, green, or yellow to the mid-tones, and
- Red or yellow to the highlights in the image.
Doing this will keep colors more realistic, maintaining the authenticity of the image. Moreover, if you want to experiment and get some interesting looks, then you can add a Levels adjustment layer. Use the output sliders to add some blue and green on top of shadows. This will give the shadows a film look. Further, use Hue/Sat to fine-tune the colors. You can adjust the hue, saturation, and lightness of each color to get a perfect color balance in the image.
Conclusion
These are the primary image retouching techniques used by photo editing experts to enhance images. As we know there are multiple ways in which you can use the high-end photo editing software and tools to achieve the desired effect in your photos. But it all requires time, undivided attention and efforts. Thus, it is highly suggested to have a professional photo retouching service partner to enhance all your raw images. If you are looking for the same, then drop an email to info@photozworld.com to get a free consultation on how you can improve portrait images through retouching.