
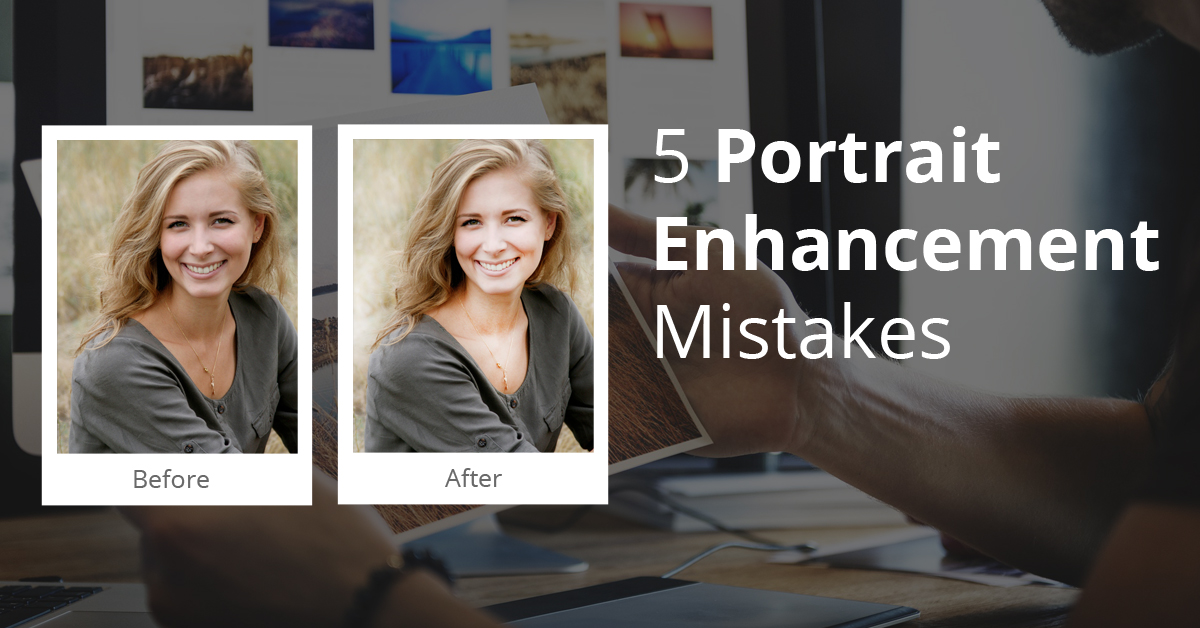
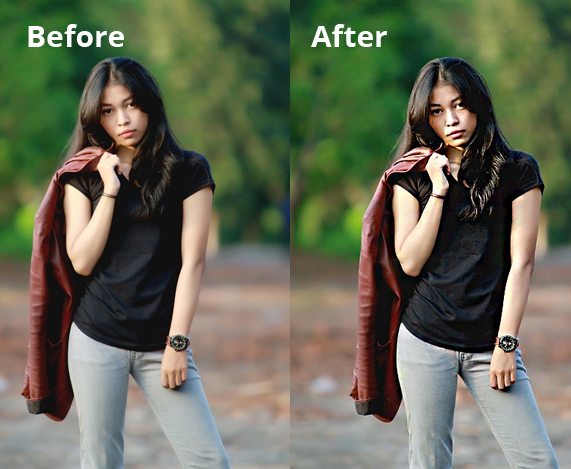
Portrait enhancement is not as simple as it seems to be. Even seasoned photographers make mistakes over and over again when they try to enhance a portrait, making it lose its natural essence. Anomalies also creep in if you are not proficient with the photo enhancement tools and software. Popular photo editing software like PhotoShop offers too many options for portrait enhancement which are complicated to understand and sparingly used. Besides this, you can also fall prey to poorly made skin smoothing plugins. All of these factors lead to unattractive and unreal portraits. Reading through these common portrait enhancement mistakes and ways to avoid them can be of great help. If you find photo editing tasks to be time taking and complicated, you can always outsource portrait enhancement services to experts.
Excessively Using Skin Smoothing Feature
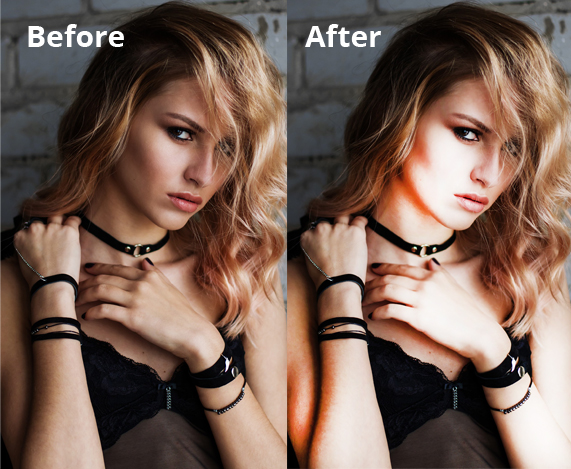
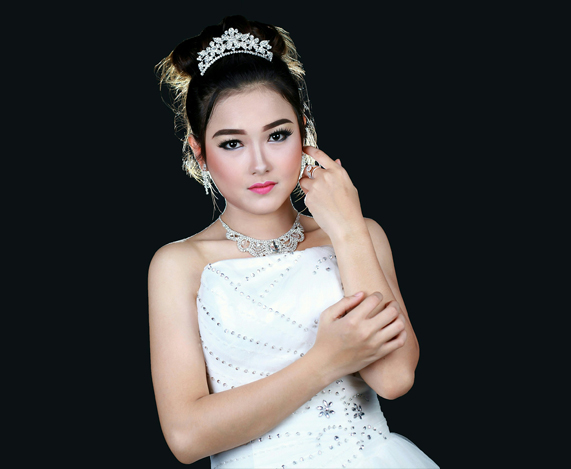
Have you noticed that in a typical commercial advertisement, the portrait of models are often modified to the point that they are nearly unrecognizable? This is due to the skin smoothing feature. If you use it in excess the portrait will certainly look unreal or unnatural. In commercial advertisements, they use this feature excessively to eliminate the flaws and make it more appealing. However, you must not imitate the same thing and use skin smoothing sparingly. Portraits with people of different age groups have different requirements. For instance, portraits of infants, kids, and men require minimum or no skin smoothing. Thus, always check if it is actually required or not in the respective portrait. Wherever it is required, do it sparingly with the lightest possible touch so that it won’t lose its natural look. You need to use the feature in such a way that it retains the original skin texture and avoid the plastic skin look.
Enlarging The Subject’s Eyes
As per the superficial beauty standards, large eyes are considered appealing and enlarging a model’s eyes makes him/her more attractive. This is why Photoshop’s Liquify tool is trending to make the model’s eyes larger than the original. Yet, most people are smart enough to recognize if the eyes are modified or edited. And, recognition becomes obvious if they know the model personally. All this results in an unnatural looking portrait that has lost any authenticity giving a negative impact on the viewers.
Too Bright Or Too Sharp Eyes
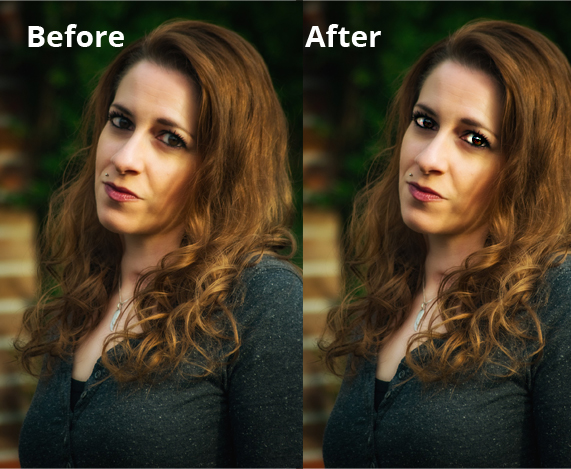
The popular software like Lightroom and Photoshop gives photographers the flexibility to make accurate local adjustments. As a result, they often modify the model’s eyes by making it whiter, brighter or sharper. Altering the natural look seems easy but if you overdo it even slightly, it will give an unnatural look spoiling the portrait. Therefore, you have to be careful with the tools and how you should use it on the subject. The best approach is to apply the effect subtly. After applying it, always zoom the image to 100% and check if the image looks realistic. Do not over-process the image as you will end up with a portrait where the subject’s eyes attract unfavorable attention.
Applying Too Much Clarity
Using this tool largely depends on the subject of the portrait as applying this effect highlights skin texture, blemishes, and wrinkles. The tool should not be applied to portraits showcasing women and children as it will only make them look older. Whereas with portraits showcasing men, you can apply Clarity in order to emphasize skin texture and make his face appear more rugged. You have to be selective with the use of this tool as every portrait is different ensuring that the effect should not draw attention to itself.
Over-sharpening
Some of you may not be aware that in JPEG format images the camera sharpens the photo for you the moment you click it. If you apply the sharpening effect in post-processing, then you must know that it is being applied on top of an already sharpened photo. This doubles up the effect.
Similarly, in RAW images, you can set the Sharpening effect to the default settings in your Raw converter. In most cases, portraits don’t need any additional sharpening effect. But, if you do need it then always zoom into the portrait to check the effect on the face. It should not give an unnatural look.
By now, you have probably guessed that the natural and authentic approach to portraiture remains the best one. Natural light, prime lenses, wide apertures, and minimal processing are generally recommended to structures portraits and are considered to attract viewers attention positively. Still, prior to starting your portrait image enhancement, you should be clear on what you want to achieve with your portrait processing. If you are commercial minded or your industry requires heavily retouched portraits then you can try a heavy-handed approach. Even so, it is always better to apply skin smoothing and other portrait enhancement techniques subtly, rather than over-processing portraits.
Hope you will find this blog helpful and avoid these mistakes while post-processing portraits. You must know that proficiency in any field requires consistent practice. Therefore, it is always suggested to take assistance from photo editing experts. To partner with Photozworld for portrait enhancement services, drop a mail at info@photozworld.com.